


GARDENING
TRANSFORMING YOUR YARD INTO AN URBAN FARM
Katie Irwin from Waste Not Collective shares her advice for growing your own food in the city.
I have always dabbled in growing food, but never really committed to it until this year. We had an awkward small patch of land in front of our house next to a main road. It was a completely wasted space, full of bindies and dead grass. Inspired by permaculture principles and the resource book ‘Retrosuburbia’ by David Holmgren, my husband and I (plus friends and family!) embarked on transforming this little patch of weeds in to a productive veggie patch, bee corridor and play area for our toddler. Here are my top tips for transforming your yard in to a (mini) urban farm.
1. OBSERVE AND RESEARCH
I spent at least a year observing how the sun moves across our block throughout the year. Sun patterns are really important when growing veggies as most need around 6-8 hours of sunlight a day. Having said that, our area is almost full shade in Winter and harsh westerly sun in Summer and we’re still making it work, you just have to plant the right plants in the right spaces. I spent a lot of time reading books and blogs, listening to podcasts and watching Youtube videos on permaculture. Morag Gamble is a Permaculture Educator and expert and her YouTube account is full of incredible advice for people living in a subtropical climate. Green Harvest Nursery At Maleny is another incredible resource and a walk through their edible garden is a must for locals!
2. GET COMPOSTING!
Compost is the secret ingredient in all great organic gardens. Growing nutrient dense food is all about the soil – feed the soil, not the plants. You can get your compost going long before you plan on setting up a garden. That way you will have compost ready to go when your plants are ready! We have multiple compost bins all at different stages, going at all times.
3. OPT FOR NO-DIG
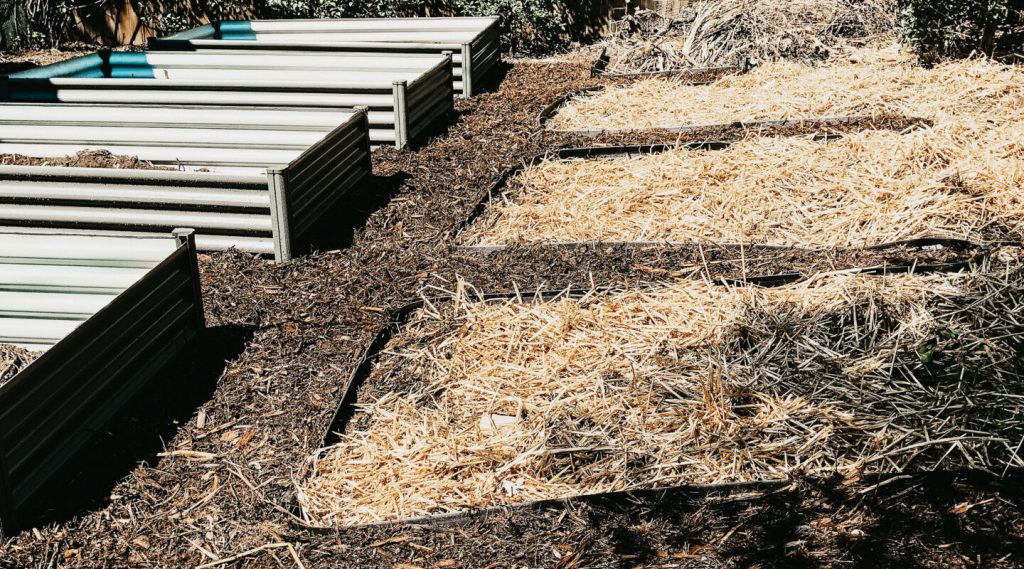
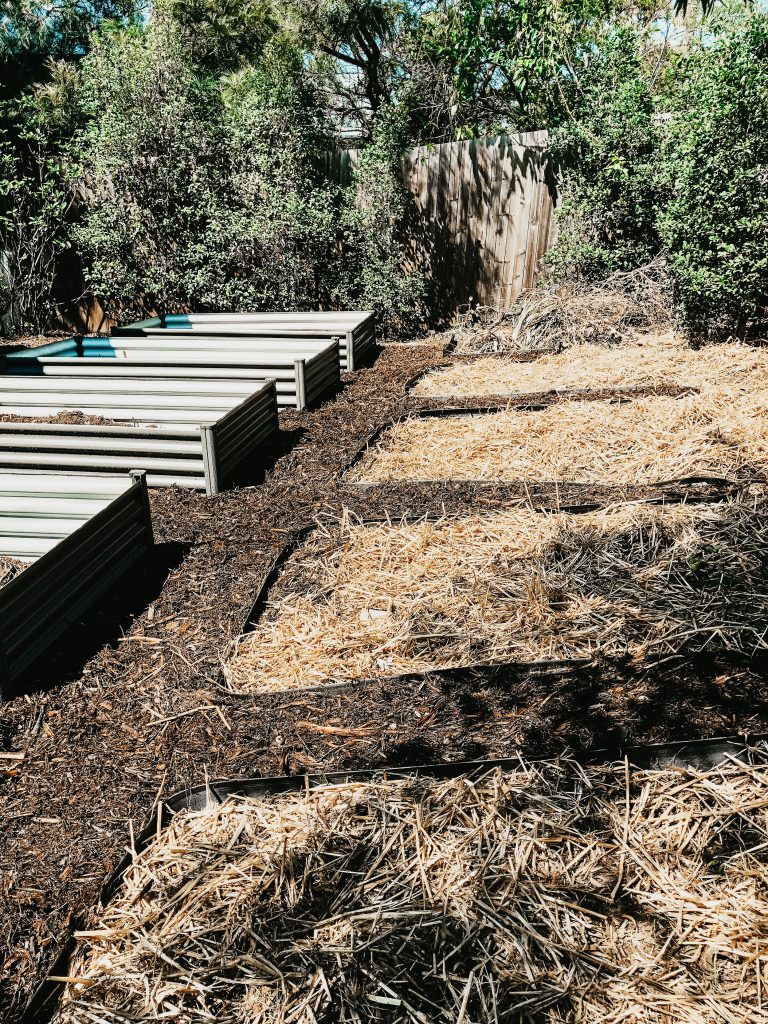
No-dig garden beds will save you time, energy and money and will set your plants up for success. We set out to get rid of every piece of grass we could see! We covered the entire patch with a thick layer of wet cardboard with boxes we collected from friends and family. We marked out where our beds, paths and play areas would be. The paths were cardboard covered with 20cm of forest mulch and the garden beds were layers of leaves and branches, sugar cane mulch, cow and chicken manure, borage and comfrey leaves, compost and rock minerals all watered in well with an organic seaweed solution to promote decomposition and microbial activity. A final layer of wet newspaper went on top of our compost to keep weeds out and a thick layer of sugar can mulch was placed on top.
We allowed the beds to cook (break down) for a few weeks before planting in our seedlings. When we initially set up our beds we had to bring in some purchased compost. If you need to do this too, buy in bulk from a reputable landscape supplier to save money and reduce plastic packaging and make sure you check it out before purchasing. Now that our garden is established we make enough of our own compost to top up the beds every season and have just planted in a new bed that we used all of our own compost on. The quality of the soil in the patch with our own compost is significantly higher than the beds with brought in compost.
4. WORK WITH YOUR CLIMATE
Choose climate specific plants and opt for perennial options wherever possible. Due to the harsh weather patterns we can experience here in Qld, I have been very selective with what I plant. All of our plants are suited to the Subtropical climate and most are perennial meaning we get more bang for our buck. I also aim to choose multi-use plants, for example sweet potato which have abundant edible leaves that we use as a spinach substitute, plus the added benefit of tasty tubers and they grow year round in Brisbane. Some other perennial favourites are Brazilian spinach, sorrel, kang kong, sambung nyawa and Okinawa spinach. Perennial plants are generally more hardy and require less water than their annual counterparts – you just may need to get a bit more creative in the kitchen!
Converting your backyard into an edible landscape can be a very daunting task, but with the right knowledge and some willing hands it will likely be one of the most rewarding projects you embark on. To see our journey, feel free to follow us on Instagram @wastenotcollective.
GALLERY
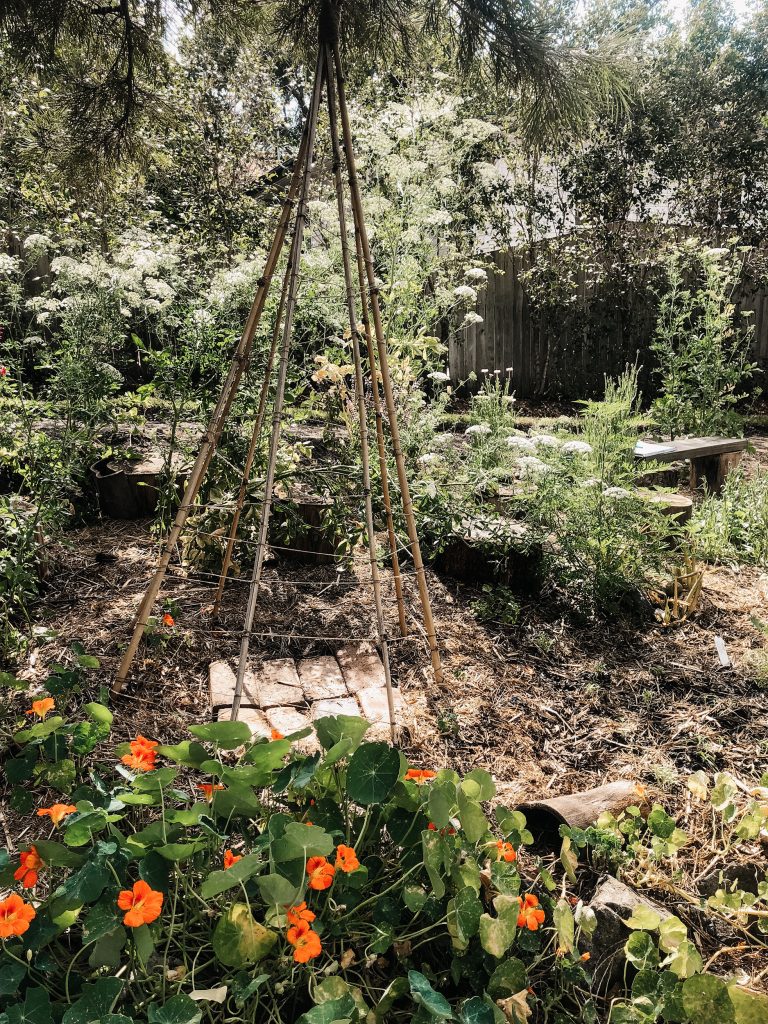
Before
After
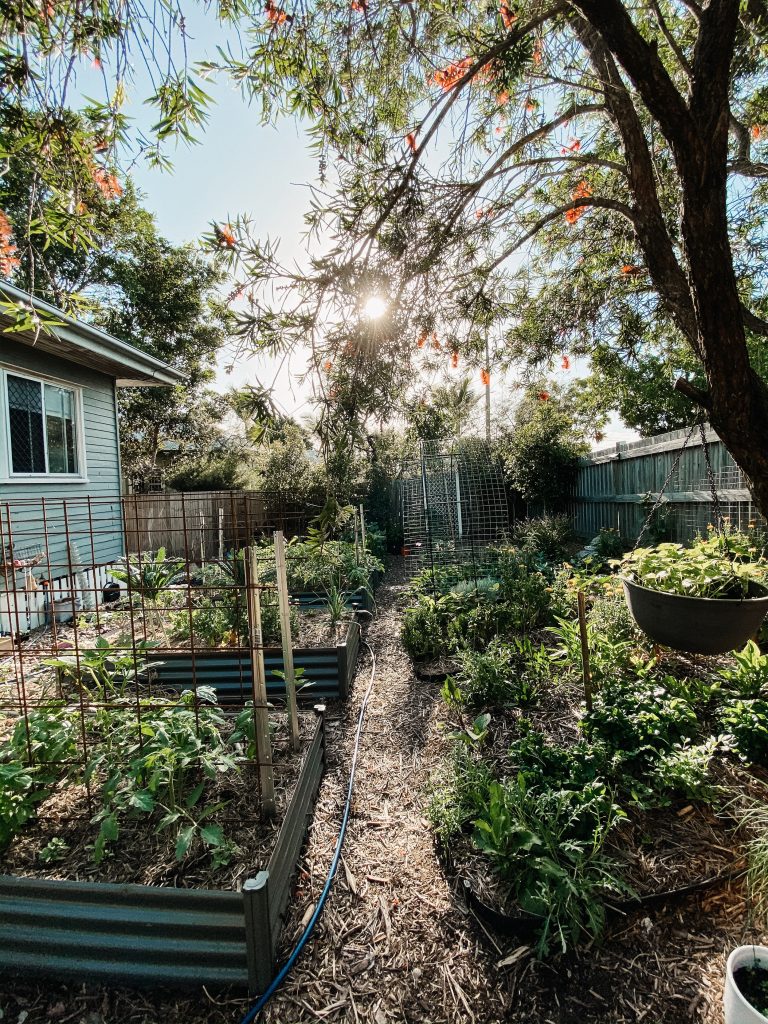
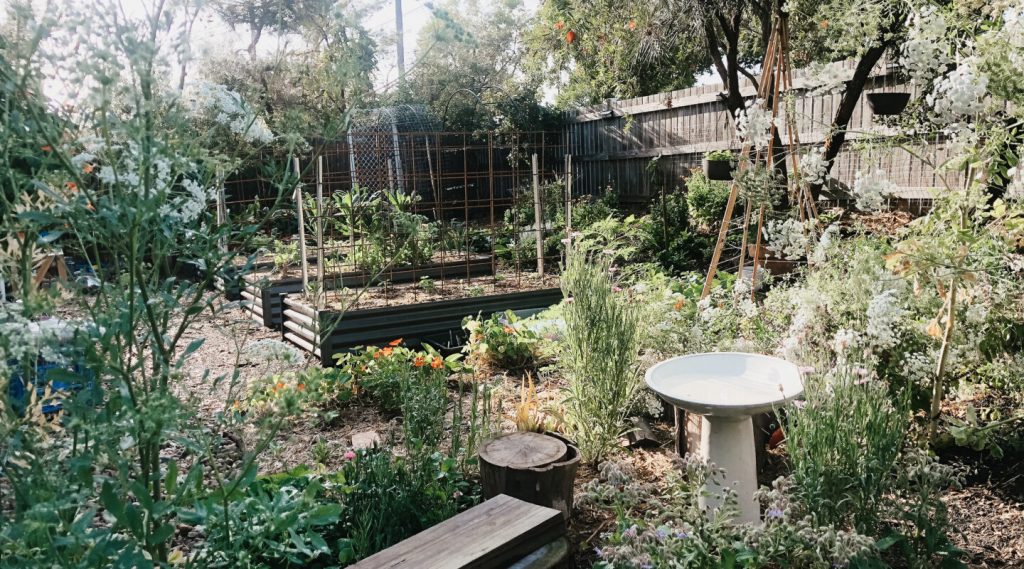
Before
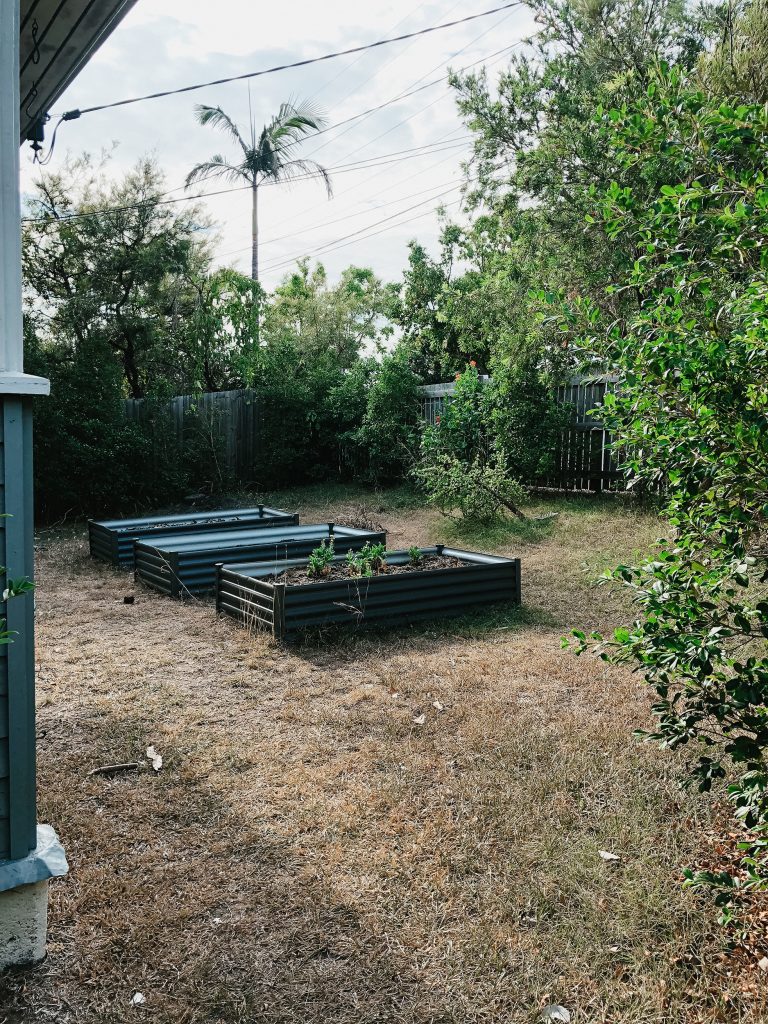
After

The author
Katie Irwin
Katie Irwin Katie Irwin is a wife, mother, midwife and zero-waste wannabe. Katie and her husband Tom, began documenting their journey to zero waste on Instagram after much nagging from friends and family to share their knowledge. This organically morphed into their small plastic and cruelty free business, Waste Not Collective. Katie is passionate about sustainable living for families and hopes to encourage, inspire and empower other families to do the same. Katie’s favourite past-time is tending to the family veggie patch with her adventurous one year old, Elijah.
Follow Katie
Explore our other articles


World Water Day – Tips For Saving Water


8 Hard-to-Recycle Items in Brisbane and What to Do With Them


5 Sustainable Valentine’s Day ideas that show love for your partner and the planet
Nine ways to have a more sustainable Christmas

Money-saving powerhacks: summer edition

Make it a meaningful Christmas

How to dispose of Christmas waste responsibly
