


REDUCE WASTE, GARDENING, SUSTAINABLE LIVING
Grow fresh food from vegetable scraps
With the cost of living going up, these clever hacks can help you save your hard-earned cash by growing food from your vegetable scraps, writes Cherie Pasion.
Next time you’re cooking up a feast in the kitchen, before you put your fruit and vegetable scraps in the compost caddy, see if you can use them instead to grow more food. Yes, that’s right – free food!
Vegetable scraps can be turned into fresh food quite quickly, especially spring onion and garlic cloves which can grow back in a matter of days. Fruit scraps take longer to turn into delicious fresh fruit, but are still worth considering – especially the sub-tropical pineapple.
In this article, we’re going to look at how to take a variety of vegetable and fruit scraps and turn them into fresh food.
For food ready in weeks
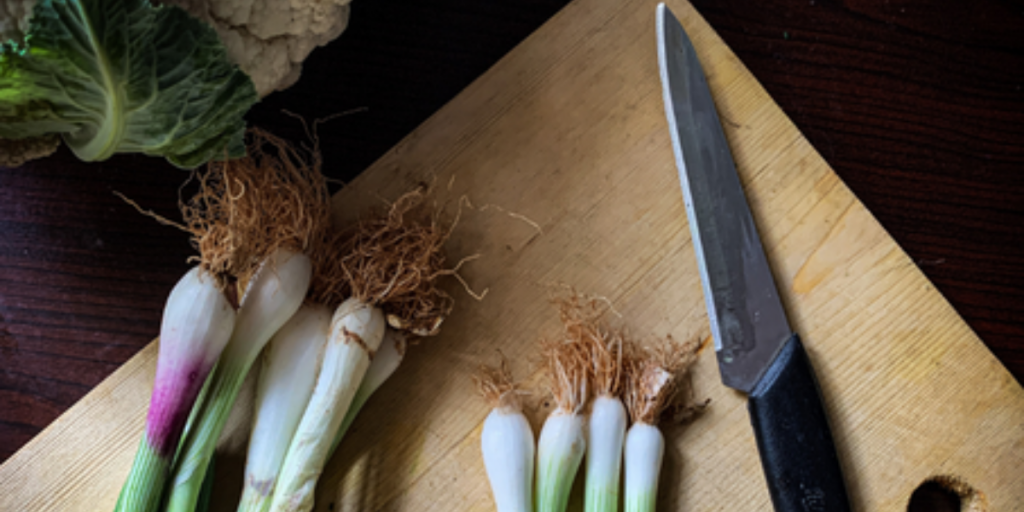
Spring Onions
- Cut the spring onions, retaining the roots and two-thirds of the white part.
- Fill a jam jar with enough fresh water to reach just about the roots of your cuttings.
- Place jar in a sunny environment, replacing water daily.
- Snip off as you need it, and the shoots will continue to grow – offering you a constant supply.
Garlic shoots
- Peel the outer skin off garlic cloves and position in a small jar.
- Add fresh, cool water to a depth of 1cm
- Place jar in sunny windowsill.
- Replace water every day.
- When the shoots are 10cm tall, you can harvest your garlic greens. If you only snip off what you need, it will continue to grow.
Note: the taste is milder than garlic.
For food ready in months
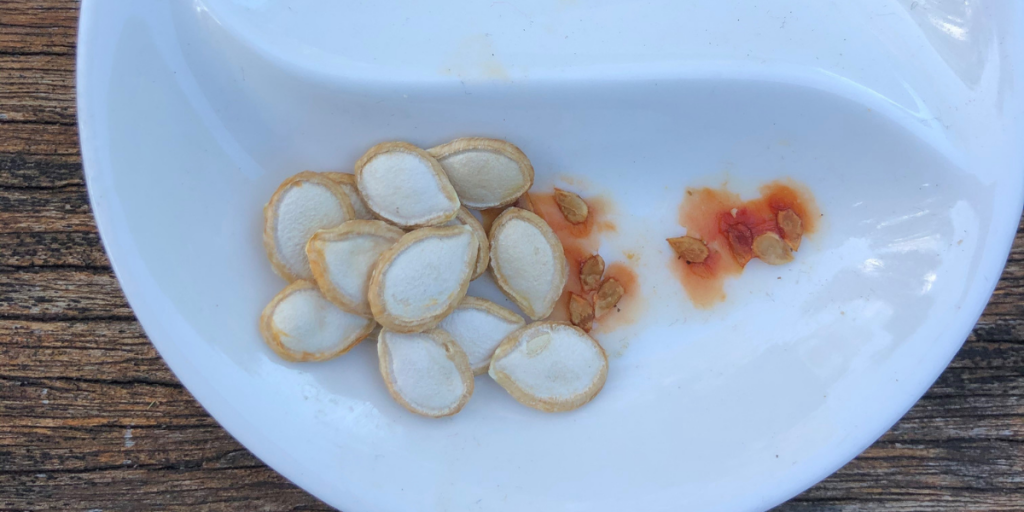
Tomatoes, capsicums, pumpkin, beans
The success of this activity boils down to the source of your vegetables. This works best with organic vegetables, as common supermarket vegetables may be sterile – meaning, you might grow a plant but it may not fruit. In my experience, just have a bit of fun with the experiment and see what happens. I have managed on several occasions to get plants to fruit from supermarket sourced vegetables.
- Scoop out seeds and spread on a paper towel to remove the moisture.
- Transfer to a non-stick surface such as a small plate or bowl.
- Leave them for two weeks in a warm place out of direct sunlight to dry out.
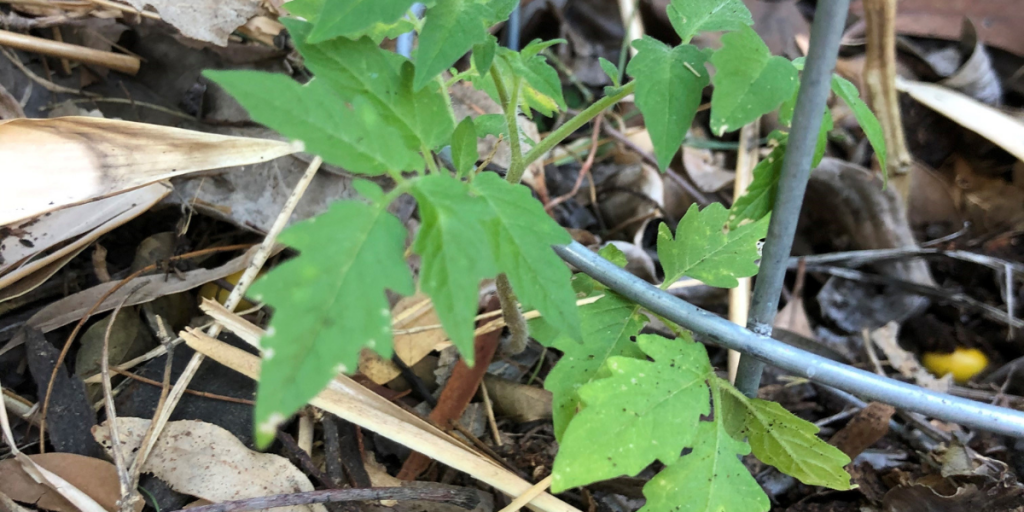
- Either store seeds in a paper envelope until the season is suitable for planting, or if it’s the right season, plant the seeds. If planting, use seedling trays filled with potting compost suitable for planting seeds.
- Once the seeds have grown to mature seedlings, plant out in your garden beds.
Celery and Asian greens such as bok choy
- Slice the bottom from a bunch of celery or bok choy retaining an inch and a half.
- Place your cutting in a wide jar or small container.
- Fill with enough water to cover the base, but not more than 4cm (so it doesn’t cause rotting).
- Refresh water daily and clean off any slime-like stalks to keep the cutting fresh and healthy.
- When the celery starts growing roots, transfer to a medium-sized pot filled with potting compost.
Lemongrass
- Leave some stalk on the root end of your lemongrass.
- Place your cutting in a wide jar or small container.
- Fill with enough water to cover the base.
- Refresh water daily.
- Fresh growth will appear from the inside of the lemongrass stalk, and when roots appear, transfer to a medium-sized pot filled with potting compost.
For food that takes a bit longer
Pineapple
Pineapples are part of the bromeliad family and do well grown in pots and gardens in the sub-tropics. Today’s pineapple crowns could bear fruit in as little as two years.
- When purchasing pineapple, select one with the crown intact.
- Cut the top of the pineapple and pull away all the pineapple flesh from the leaves, leaving behind a core. (Else wear gloves and twist off the crown.)
- Leave the pineapple crown to dry for a few days, so the core hardens.
- Plant directly in a medium-sized pot filled with potting compost and place in an area with full sun.
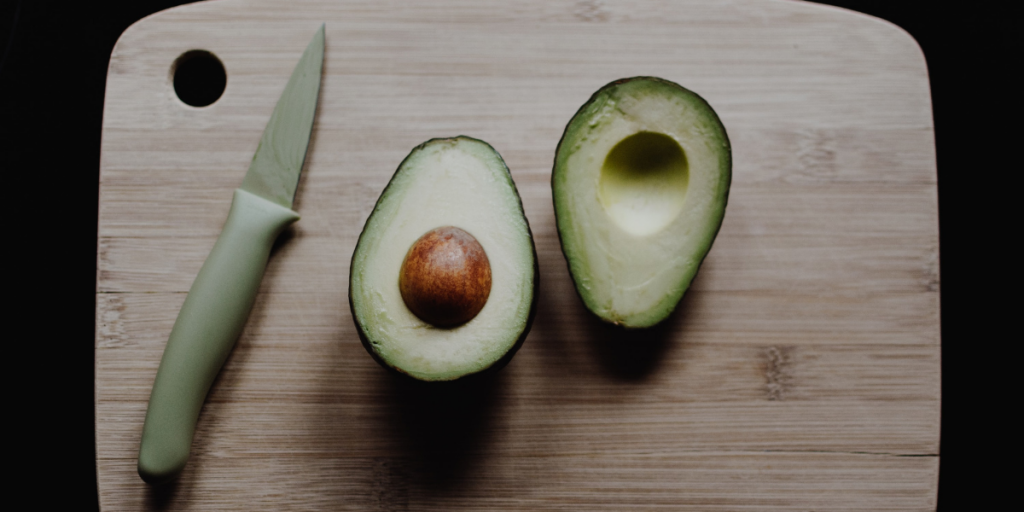
Avocado
This is a fun activity to watch nature do its thing – watching over time as the shoots and roots sprout from your avocado seed. However, it might take between 5 and 13 years to see the ‘fruits’ of your labour (pardon the pun).
- Carefully remove avocado pit and wash off any avocado flesh.
- Work out which is the top and which is the bottom of the avocado. The top, which is where the sprouts will form, is the pointy-ish part. The bottom, where the roots will form, is the flat-ish part.
- Pierce the seed with three toothpicks in equal spaces around the middle of the seed.
- Place seed half-submerged in a glass of water and set on a windowsill out of direct sunlight.
- It will take anywhere between 2 and 8 weeks for a sprout to grow. Refresh water regularly.
- When the stem is around 15cm long, plant it in a small-medium sized pot in a premium potting mix, leaving the top half of the seed exposed. Place in a sunny area and keep well-watered until its ready to be planted out in the garden.
The author

Cherie Pasion
Cherie worked at Brisbane Sustainability Agency, and is a self-confessed energy nerd committed to a slow-living lifestyle.
Explore our other articles


World Water Day – Tips For Saving Water


8 Hard-to-Recycle Items in Brisbane and What to Do With Them


5 Sustainable Valentine’s Day ideas that show love for your partner and the planet

Nine ways to have a more sustainable Christmas

Money-saving powerhacks: summer edition

Make it a meaningful Christmas

How to dispose of Christmas waste responsibly
